Inside-Out Tissue Repair: A Practical Guide to Injectable Biomaterial Therapy
Overview
Imagine a treatment that could travel through your bloodstream, find damaged tissue, and repair it from the inside out—without surgery. That’s exactly what a new injectable biomaterial promises. This guide walks you through the science, development, and clinical application of this breakthrough therapy. Designed for researchers, biomedical engineers, and medical professionals, it covers everything from the material’s mechanism to step-by-step protocols and common pitfalls.
Unlike earlier methods that required direct injection into the heart, this biomaterial is administered intravenously. Once in the bloodstream, it homes in on damaged tissue, reduces inflammation, and jump-starts the body’s natural healing process. In animal studies, it has successfully treated heart attack damage, and shows promise for traumatic brain injury and pulmonary hypertension. This guide explains how the therapy works, what you need to get started, and how to avoid mistakes in research or clinical application.
The material works by forming a biocompatible scaffold that recruits stem cells and growth factors while suppressing inflammatory responses. Its key innovation is the ability to self-assemble into nanofibers that circulate safely and only activate at injury sites. The following sections detail the prerequisites, step-by-step instructions, and critical dos and don’ts.
Prerequisites
Knowledge and Skills
- Biomaterials science: Understanding of hydrogels, self-assembling peptides, and nanoparticle delivery.
- Injection techniques: Familiarity with intravenous (IV) administration, including catheter placement and flow rates.
- Animal models: Experience with rodent or porcine models of myocardial infarction, TBI, or pulmonary hypertension.
- Imaging and analysis: Ability to perform echocardiography, MRI, histology, and cytokine assays.
Materials and Equipment
- Self-assembling peptide solution (e.g., RAD16-I or custom sequence with targeting ligands).
- Phosphate-buffered saline (PBS) at pH 7.4.
- Sterile syringe with 27–30 gauge needle or catheter.
- Vortex mixer and sterile vials.
- Animal model (e.g., Sprague-Dawley rats or Yorkshire pigs) with induced injury.
- Biosafety cabinet for sterile preparation.
Safety and Ethical Considerations
- Obtain institutional approval for animal use (IACUC).
- Use personal protective equipment (PPE) when handling peptides.
- Ensure that the biomaterial is pyrogen-free and sterile.
Step-by-Step Protocol
1. Synthesize and Characterize the Biomaterial
Start with a self-assembling peptide that is biocompatible and biodegradable. For intravenous delivery, the peptide must remain monomeric (non-fibrillar) in circulation to avoid embolism. At the injury site, pH or enzyme changes trigger self-assembly into nanofibers.
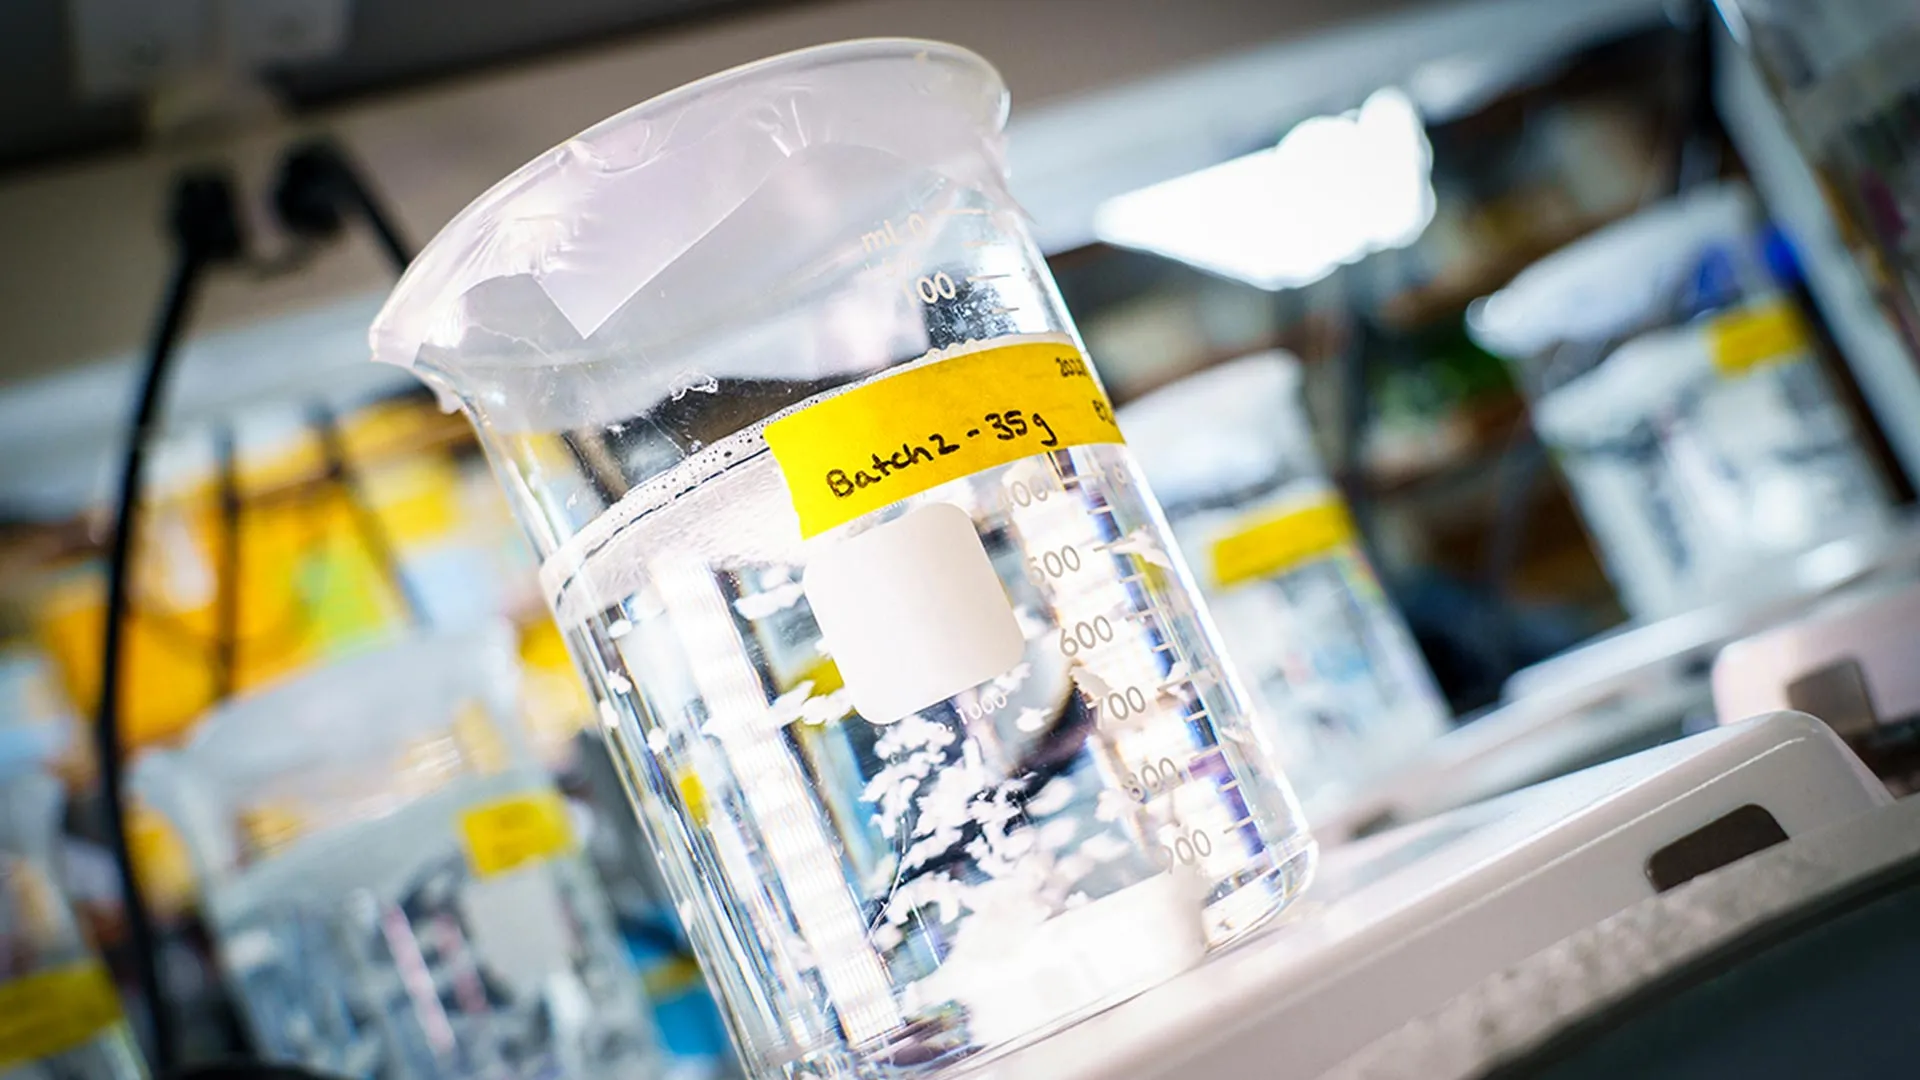
- Dissolve lyophilized peptide in sterile PBS at a final concentration of 1–2 mg/mL.
- Vortex gently to ensure complete dissolution. Avoid bubble formation.
- Adjust pH to 7.4 using 0.1M NaOH or HCl.
- Measure fiber formation using circular dichroism (CD) or transmission electron microscopy (TEM) under simulated physiological conditions (e.g., pH 7.4 at 37°C for 24 hours).
- Perform endotoxin testing using LAL assay; level should be below 0.5 EU/mL.
2. Prepare the Animal Model and Induction
For heart attack repair: induce myocardial infarction via left anterior descending (LAD) artery ligation in rats or pigs. For traumatic brain injury: controlled cortical impact model. For pulmonary hypertension: monocrotaline injection in rats.
- Anesthetize animal with isoflurane (2–3% for induction, 1.5–2% for maintenance).
- Perform the injury according to established protocols, monitoring heart rate and oxygen saturation.
- Allow injury to stabilize for 30 minutes (myocardial) or 24 hours (brain/lung).
3. Intravenous Injection of Biomaterial
The key advantage: injection into the tail vein (rodents) or ear vein (pigs). The material distributes systemically and accumulates at injury sites via leaky vasculature or inflammation-targeting ligands.
- Warm the tail vein under a heat lamp or warm water for 2 minutes to dilate.
- Draw 0.5–1 mL of peptide solution into a 1 mL syringe with a 27-gauge needle.
- Insert needle at a 15-degree angle into the vein, aspirate slightly to verify placement.
- Inject slowly over 30 seconds to avoid rapid pressure changes.
- Repeat as needed (e.g., single dose for acute injury, two doses for chronic).
4. Monitor Healing and Inflammation
Use a combination of non-invasive imaging and post-mortem analysis.
- Echocardiography (myocardial): measure left ventricular ejection fraction (LVEF) at days 1, 7, 14, and 28.
- MRI (brain): assess lesion volume and edema.
- Lung function (pulmonary hypertension): measure right ventricular systolic pressure (RVSP) via catheter.
- Histology: sacrifice animals at predefined endpoints; stain for collagen (Masson’s trichrome), macrophages (CD68), and endothelial markers (CD31).
Key observation: Reduced inflammation is indicated by lower IL-6 and TNF-alpha levels in serum and tissue homogenates. Increased angiogenesis is seen as higher capillary density in the border zone of infarcted hearts.
Common Mistakes to Avoid
Mistake 1: Using the Wrong Peptide Concentration
Too low (<0.5 mg/mL): weak scaffold, no healing benefit. Too high (>5 mg/mL): premature gelation in syringe or vessel blockage. Solution: Optimize concentration using in vitro viscosity tests. For IV delivery, 1–2 mg/mL is typical.
Mistake 2: Inadequate Sterility
Peptide solutions can harbor bacteria that cause sepsis in injured animals. Solution: Prepare in a biosafety cabinet, filter through 0.22 μm syringe filter, and use within 24 hours. Store at 4°C with antimicrobial agents (e.g., 0.1% sodium azide) but rinse before use.
Mistake 3: Incorrect Injection Site or Rate
Injecting into an artery instead of a vein can cause embolism. Injecting too fast can cause temporary volume overload. Solution: Verify vein placement by flashback of blood. Inject at a rate of 10–20 μL per second for rats.
Mistake 4: Ignoring Targeting Specificity
If the biomaterial lacks injury-specific ligands, it may accumulate in liver and spleen, reducing efficacy. Solution: Conjugate peptides with targeting moieties (e.g., RGD for integrins, or collagen-binding domain for fibrosis). Test biodistribution using fluorescent labels.
Summary
This guide has covered the essential components of using injectable biomaterials for internal tissue repair—from overview and prerequisites to a detailed step-by-step protocol and common mistakes. The key takeaway: the material works systemically but locally, reducing inflammation and promoting regeneration with minimal invasiveness. While still in preclinical stages for many conditions, the evidence from animal models is promising for heart attack, traumatic brain injury, and pulmonary hypertension. By following the steps outlined here—synthesizing correctly, preparing models, injecting IV, and monitoring carefully—researchers can accelerate translation to clinical trials. Avoid the pitfalls listed to save time and improve outcomes. The future of regenerative medicine may indeed be delivered through a needle.
Related Articles
- FDA Investigates: Cancer-Causing PFAS Chemicals Detected in Multiple Brands of Infant Formula
- Supreme Court Rejects Pharma Challenge to Medicare Drug Price Negotiation; TrumpRx Expands with Generic Drugs via Amazon, Cuban's Cost Plus
- FDA Names Katherine Szarama as Acting Director of Vaccines and Biologics Center: Key Questions Answered
- 6 Key Facts Behind Takeda’s $13.6 Million Kickback Settlement
- 10 Key Takeaways from the White House’s New Drug Discount Partnership with Amazon, GoodRx, and Mark Cuban
- Navigating FDA Leadership Changes: Understanding the Impact of Key Departures at the Center for Drug Evaluation and Research
- Trump Picks New Surgeon General Nominee, Abandons RFK Ally Casey Means
- How to Supercharge Drug Manufacturing with AI: A Step-by-Step Guide Inspired by Bristol Myers Squibb